
If you want a bakery-style dessert at home that’s incredibly delicious, you can make “Midnight Bliss Chocolate Cherry Cookies” in a truly amazing and easy recipe.

Table of Contents
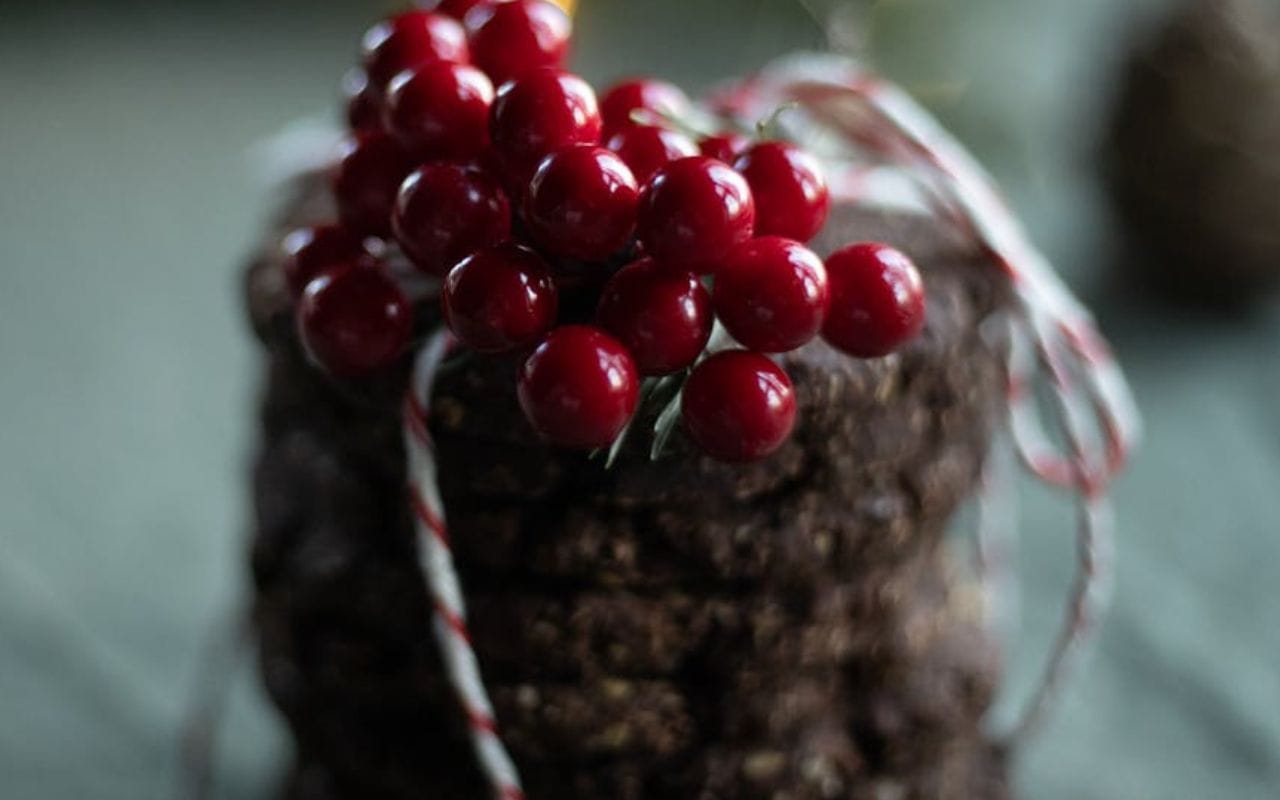
Midnight Bliss Chocolate Cherry Cookies : A Bakery-Style Dessert at Home
The sweet and sour flavors of rich chocolate and cherry perfectly blend together, making Midnight Bliss Chocolate Cherry Cookies is sure to become your new favorite. Each bite delivers soft, chewy cookies with molten chocolate and juicy cherry chunks, perfect for holiday gifting or everyday eating.
This article includes all the instructions, from simple ingredients to professional baking tips, storage tips, and finally, answers to any questions you may have, so you can easily make these amazing cookies at home.
Why You’ll Love Chocolate Cherry Cookies:
- They offer the perfect flavor balance, with rich cocoa and sweet, tart cherries.
- They have a soft and chewy texture, perfect for homemade bakery-quality cookies.
- They’re incredibly easy to make, perfect for beginners.
- They can be used in a variety of ways – perfect for parties, holidays, or as a snack.
- Freezer-friendly – you can make them ahead and bake them anytime.
All Necessary Ingredients:
Dry Ingredients:
- 1 teaspoon baking soda
- 1 1/4 cups all-purpose flour
- 1/2 teaspoon salt
- 1/2 cup unsweetened cocoa powder
Wet Ingredients:
- 2 large eggs
- 2 teaspoons vanilla extract
- 1/2 cup unsalted butter, softened
- 1/2 cup packed brown sugar
- 3/4 cup granulated sugar
Add-In Ingredients:
- 3/4 cup dried cherries or chopped maraschino cherries, well drained
- 1 cup semi-sweet chocolate chips
- 1/2 cup white chocolate chips – optional, for more flavor
All Kitchen Essentials:
- Baking Sheet
- Mixing Bowl
- Cooling Rack
- Whisk or Electric Mixer
- Spoon or Cookie Scoop
- Parchment Paper
How to Make Midnight Bliss Chocolate Cherry Cookies Complete Instructions:
1. Heating and Preparation
- Preheat the oven to 350°F, 175°C and have it ready.
- Line a baking sheet with parchment paper to prevent sticking.
2. Mixing the Dry Ingredients
- Use a medium bowl.
- Add the following ingredients and whisk them together.
- Cocoa Powder
- Flour
- Salt
- Baking Soda
- Set aside.
3. Beating the Butter and Sugar
- Use a large mixing bowl.
- Add the granulated sugar and brown sugar and beat well.
- Continue mixing until light and fluffy, about 3 minutes.
4. Adding the Eggs and Vanilla
- Add the eggs one at a time.
- Make sure to mix thoroughly after adding one egg, then add the second.
- Add the vanilla extract and mix.
- This recipe creates a smooth and thick base.
5. Mixing the Wet and Dry Ingredients
- Slowly add the dry mixture to the wet mixture and mix well.
- Continue mixing at low speed.
- Don’t overmix, as this will make your cookies soft.
6. Folding in the Chocolate and Cherry
- Gently fold it in.
- Chocolate Chips
- Dried Cherries
- Be sure to spread evenly.
7. Rolling Out the Dough
- Use a cooking scoop or spoon to scoop out the dough and place the dough balls on the baking sheet.
- Leave about 2 inches of space between each cookie.
8. Baking
- Continue baking for 11 to 12 minutes, until the edges are set and the center is slightly soft.
- Be careful not to overbake—the cookies harden as they cool.
9. Cooling and Serving
- Let the cookies cool on the baking sheet for about 5 minutes.
- Remove them to a wire rack and let them cool completely.
- You can enjoy them warm.
- Your Midnight Bliss Chocolate Cherry Cookies are now ready.
Chocolate Cherry Cookies: Cookie Tips:
- If you prefer a deeper chocolate flavor, use high-quality cocoa powder.
- For thicker cookies, be sure to chill the dough for 30 minutes.
- If you use maraschino cherries, be sure to strain the cherries thoroughly.
- Avoid overbake, as the center provides a soft and chewy texture.
- Sprinkle sea salt on top for a gourmet touch.
Flavor Variations:
For a White Chocolate Cherry Delight:
Use white chocolate instead of semi-sweet chips.
For a Dark Chocolate Cherry Cookie:
For a richer taste, use dark chocolate chips.
To make them gluten-free: Use a gluten-free flour mix.
For Cherry Almond Cookies:
For a nutty twist, add 1/2 teaspoon almond extract.
Serving Suggestion:
- Midnight Bliss Chocolate Cherry Cookies can be served with a glass of cold milk.
- With vanilla ice cream.
- Or, on a dessert plate,
- They are perfect for a holiday cookie box.
How to Store:
Chocolate Cherry Cookies can be stored in an airtight container at room temperature.
They last for 4 to 5 days.
Refrigerating:
- You can refrigerate Chocolate Cherry Cookies for up to 7 days, keeping them fresh.
Freezing:
- Baked cookies can be stored in the refrigerator for up to 3 months.
- The dough balls should be refrigerated and are best baked fresh at any time.
Nutritional Values:
- Protein: 2g
- Calories: 189
- Carbs: 22g
- Sugar: 14g
- Fat: 9g
Tips to Avoid:
- If you use wet cherries, the cookies will be soggy.
- Overmixing the dough will make the cookies too hard.
- Not using personal paper will cause them to stick.
- Overbaking will dry out the cookies.
FAQ
Answers to questions about Midnight Bliss Chocolate Cherry Cookies, helping you correct mistakes while making them.
Q. Can I make the dough in advance?
Can I refrigerate the dough for up to 48 hours before baking.
Q. Why do cookies become flat?
Because of:
From melted butter
From not adding too much flour and
From not chilling the dough
Q. Can I use fresh cherries instead of dried cherries?
Absolutely! But to prevent the cookies from becoming soggy, chop them up to remove excess moisture.
Q. Which chocolate works best?
Semi-sweet or dark chocolate chips are perfect for a balanced sweetness.
Q. Can I make these cookies vegan?
Absolutely! Use plant-based butter and use flax egg instead of eggs.
Q. Are chocolate cherry cookies perfect for gift giving?
Yes! Packaged in a decorative box or tin for holidays and any special occasion.
Final Thoughts:
Midnight Bliss Chocolate Cherry Cookies are the perfect blend of indulgence and comfort. Whether you bake them for parties, holidays, or just have a sweet tooth, this recipe guarantees rich, soft, and delicious cookies every time. Give them a try in your kitchen, and they’ll soon become an essential part of your baking routine.