
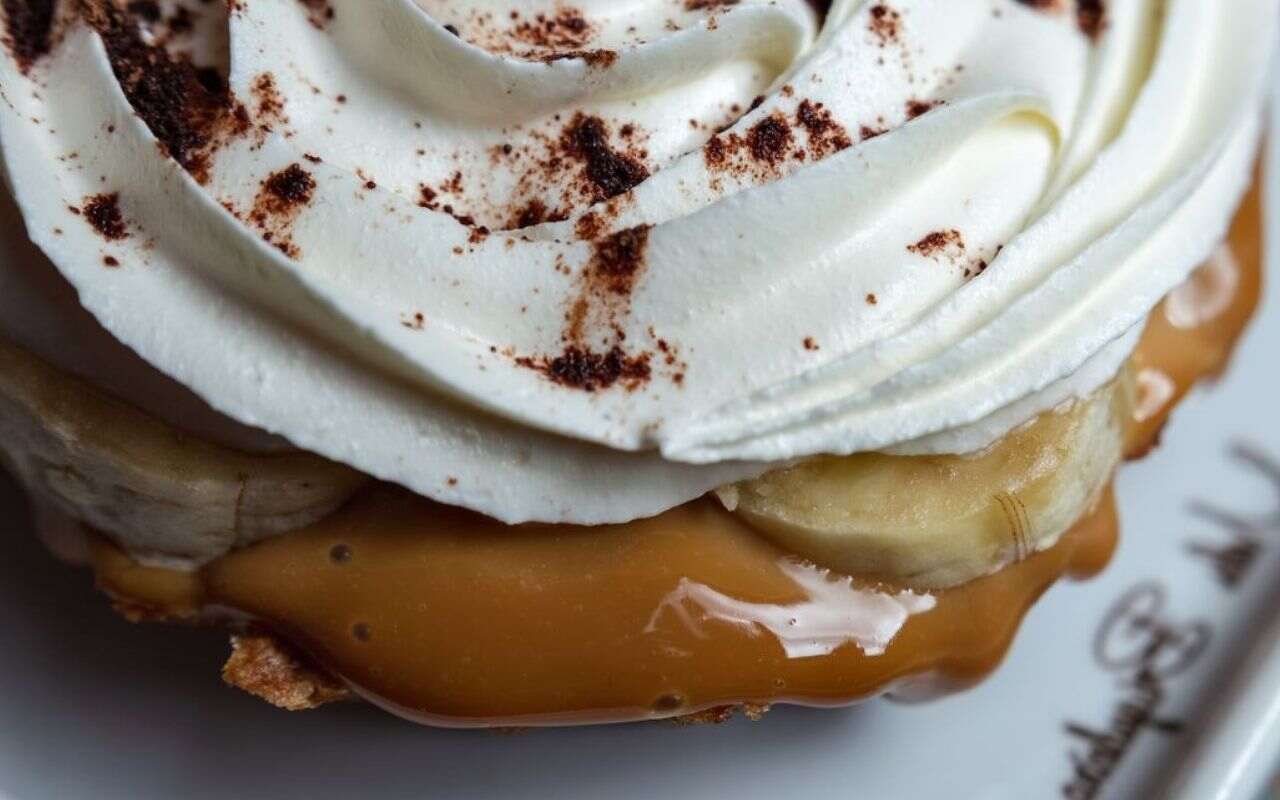
If you are looking to try a delicious yet simple dessert featuring a combination of bananas, rich caramel, buttery pastry, and fluffy whipped cream—all set in a buttery crust and topped with a creamy whipped finish—then this “Banoffee Tarts” recipe is perfect for you.
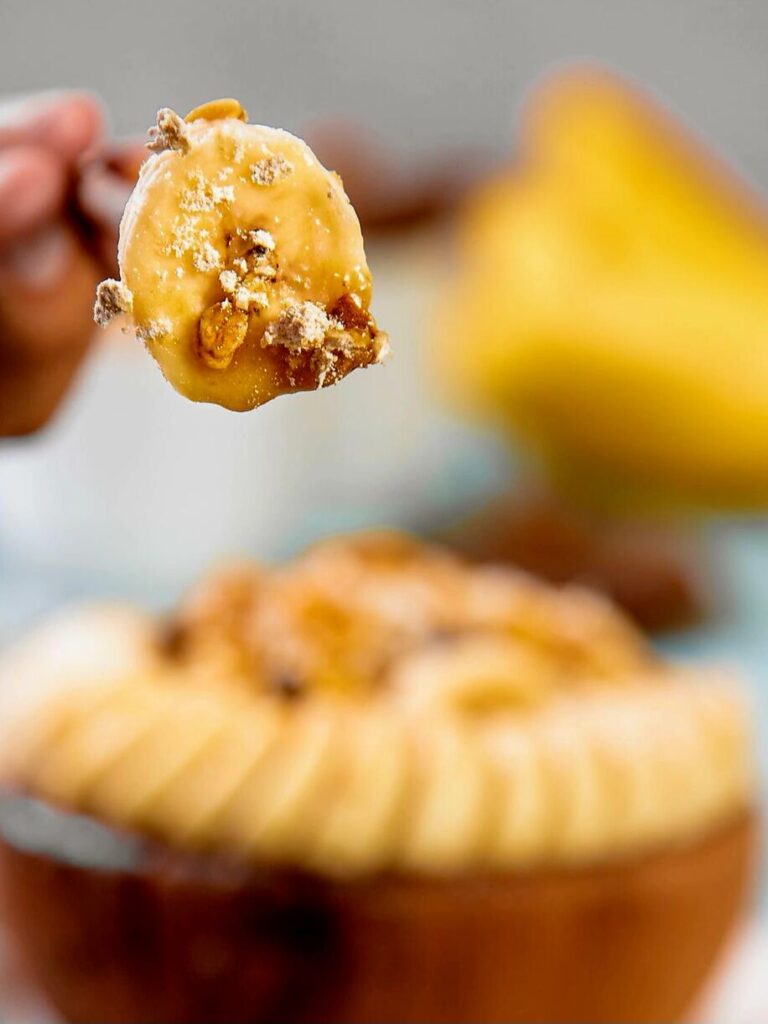
Table of Contents
Banoffee Tarts Recipe: Buttery Crust and Creamy Whipped Topping
- Making Banoffee tarts at home yields excellent results. Each mini tart features a crisp, golden crust filled with smooth, creamy dulce de leche, fresh banana slices, and a luscious layer of lightly sweetened whipped cream.
- Inspired by the classic British Banoffee pie, this individual-sized version is ideal for parties, family gatherings, holidays, birthdays, and other special occasions.
- These tarts look stunning on a dessert table and are presented so beautifully that they could easily be mistaken for treats from a professional bakery.
- Best of all, you can prepare the tart shells and the caramel filling in advance, making the assembly process incredibly easy.
- Whether you are hosting a dinner party or simply craving something sweet, this easy Banoffee tarts recipe is sure to become a favorite.
Why you’ll love this homemade Banoffee Tarts recipe:
- Absolutely easy to make
- Easy to customize
- Perfect for a beautiful presentation
- Easy to make in advance
- Perfect individual dessert
- A combination of rich and creamy flavors
All the ingredients needed for the Banoffee Tarts recipe:
Ingredients for the Tart Crust:
- 2 to 3 tablespoons cold water
- 1 cup flour
- 1 large egg yolk
- 1/4 teaspoon salt
- 1/2 cup unsalted butter, cold and cubed
- 1/4 cup powdered sugar
Ingredients for the Caramel Filling:
- 2 tablespoons heavy cream
- 1 cup dulce de leche
- 1 tablespoon unsalted butter
- 1 teaspoon vanilla extract
- 1 pinch sea salt
Ingredients for the Banana Layer:
- 1 teaspoon fresh lemon juice
- 3 medium ripe bananas
Ingredients for the Whipped Cream Topping:
- 2 tablespoons powdered sugar
- 1 cup chilled heavy whipping cream
- 1/2 teaspoon vanilla extract
Ingredients for decoration, optional:
- 1 tablespoon chocolate curls
- 1 tablespoon caramel sauce
- 2 tablespoons grated and chopped dark chocolate
- Chopped toasted pecans or walnuts
Kitchen essentials:
- Mixing bowl
- Measuring cup and spoon
- 8 mini tart pans
- Electric hand mixer
- Piping bag
- Cooling rack
- Baking weights or dried beans
- Baking parchment paper
How to Make Banoffee Tarts Recipe: Full Instructions:
1. Preparing the Tart Dough
- Use a large mixing bowl.
- Add the flour, powdered sugar, and salt and mix well.
- Add the cold cubed butter.
- Work the dough together with your fingers until the mixture resembles coarse breadcrumbs.
- Add the egg yolk and two tablespoons of cold water.
- Keep mixing slowly until the dough comes together.
- If needed, add another tablespoon of water.
- Shape the dough into a flat disk.
- Wrap it tightly in plastic wrap and refrigerate for about 30 minutes.
- Tip: Avoid over-kneading the dough. Keeping the butter cold is ideal for a soft, crisp tart crust.
2. Shaping the Mini Tart Shells
- Preheat the oven to 350°F, 175°C.
- Lightly dust your work surface with flour and roll the chilled dough out to about 1/8 inch thick.
- Cut slightly larger rounds into mini tart pans.
- Gently press each round into the tart pan.
- Make sure the dough covers the bottom and sides.
- Cut off any excess dough and prick the bottom with a fork.
- Let the prepared tart shells rest in the refrigerator for about 10 minutes before baking.
3. Blind Baking the Tart Shells
- Line parchment paper inside each tart shell and fill with baking weights or dried beans.
- Continue baking for 12 minutes.
- Carefully remove the parchment paper and weights, then continue baking for about 5 minutes, until the crust is lightly golden.
- Remove from the oven and let the shells cool completely on a wire rack.
- Important Tip: The tart shells should be completely cool before adding the caramel filling.
4. Prepare the Creamy Caramel Filling
- Use a small saucepan.
- Add the dulce de leño, heavy cream, butter, vanilla extract, and sea salt.
- Heat over low heat, stirring constantly, until the mixture is smooth and shiny.
- Remove from heat and let cool slightly.
- Divide the caramel mixture evenly among the cooled tart shells.
- Spread it evenly into a smooth layer.
- To help the filling set properly, refrigerate for about 18 to 20 minutes.
5. Add Fresh Banana Slices
- Peel the banana and cut it into thin, even slices.
- Gently toss the slices with fresh lemon juice.
- This slows down the browning of the cake and creates a banana crown.
- Add a layer of banana slices over the caramel filling in each tart.
- Avoid pressing the banana too hard into the filling.
6. Making the Whipped Cream
- Place the chilled heavy whipping cream in a chilled mixing bowl.
- Add the powdered sugar and vanilla extract.
- Use an electric mixer and beat on medium-high speed until soft to medium peaks form.
- Be careful not to over-whip the cream, as it may become grainy or creamy.
7. Decorating the Banoffee Tarts
- Drop the whipped cream over the banana layer or decorate it with a piping bag.
- Use a piping bag with a star-shaped nozzle to create a stunning design.
- Sprinkle grated dark chocolate or chocolate curls over the cream.
- Finally, drizzle a little caramel sauce over the top for a perfect bakery-like look.
8. Chill and Serve
- Be sure to refrigerate the prepared Banoffee Tarts for 25 to 30 minutes before serving.
- This allows all the flavors to meld and makes the filling much easier to enjoy.
- Serve chilled and enjoy these delicious homemade mini banoffee tarts.
Tips for making banoffee tarts:
- Choose ripe but firm bananas.
- Be sure to keep the butter cold.
- Chill the tart shells thoroughly.
- Use high-quality dulce de leche.
- Whip the cream carefully.
- Assemble before serving.
Some variation suggestions for the Banoffee Tarts recipe:
Try these variations to make these mini banana caramel tarts incredibly delicious.
Chocolate Banoffee Tarts: Brush a thin layer of dark chocolate inside the tart shells before adding the caramel.
Oreo Banoffee Tarts: Instead of a pastry crust, use crushed Oreo cookies mixed with melted butter.
Salted Caramel Banoffee Tarts: Add a little extra flaky sea salt to the caramel filling.
Serving Suggestions for Banoffee Tarts:
- These go perfectly with sweet and creamy mini desserts.
- English Breakfast Tea
- Hot Coffee or Cappuccino
- Vanilla Bean Ice Cream
- A Glass of Cold Milk
- Dark Chocolate Covered Coffee Beans
- Fresh Strawberries and Raspberries
- This is especially delicious after a salty dinner. When you love a rich, yet generously portioned dessert
Storage Tip:
To store Banoffee Tarts in the refrigerator, first assemble them in an airtight container for up to 2 days. The banana and whipped cream remain fresh if consumed within 24 hours.
Tart Shells: You can prepare the empty tart shells up to three days in advance and store them in an airtight container at room temperature.
Caramel Filling: You can prepare this up to three days in advance and refrigerate it in a sealed container. Gently warm it until spreadable before assembling.
Refrigerating: Unfilled baked tart shells should be refrigerated for up to 2 months. Thaw completely before filling. Freezing fully prepared Banoffee Tarts should be avoided, as the banana and whipped cream will lose their texture.
Final Thoughts
Banoffee Tarts are a truly wonderful combination of buttery pastry, sweet caramel, fresh bananas, and fluffy whipped cream. Their varied sizes make them easy to serve, while their beautiful layers make a wonderful dessert for almost any occasion.
Whether you’re preparing a family feast on the weekend, a holiday dessert, or just want to make something special for guests, this easy Banoffee Tarts recipe is sure to impress. So make a batch, add your favorite toppings, and enjoy a delicious homemade dessert.