
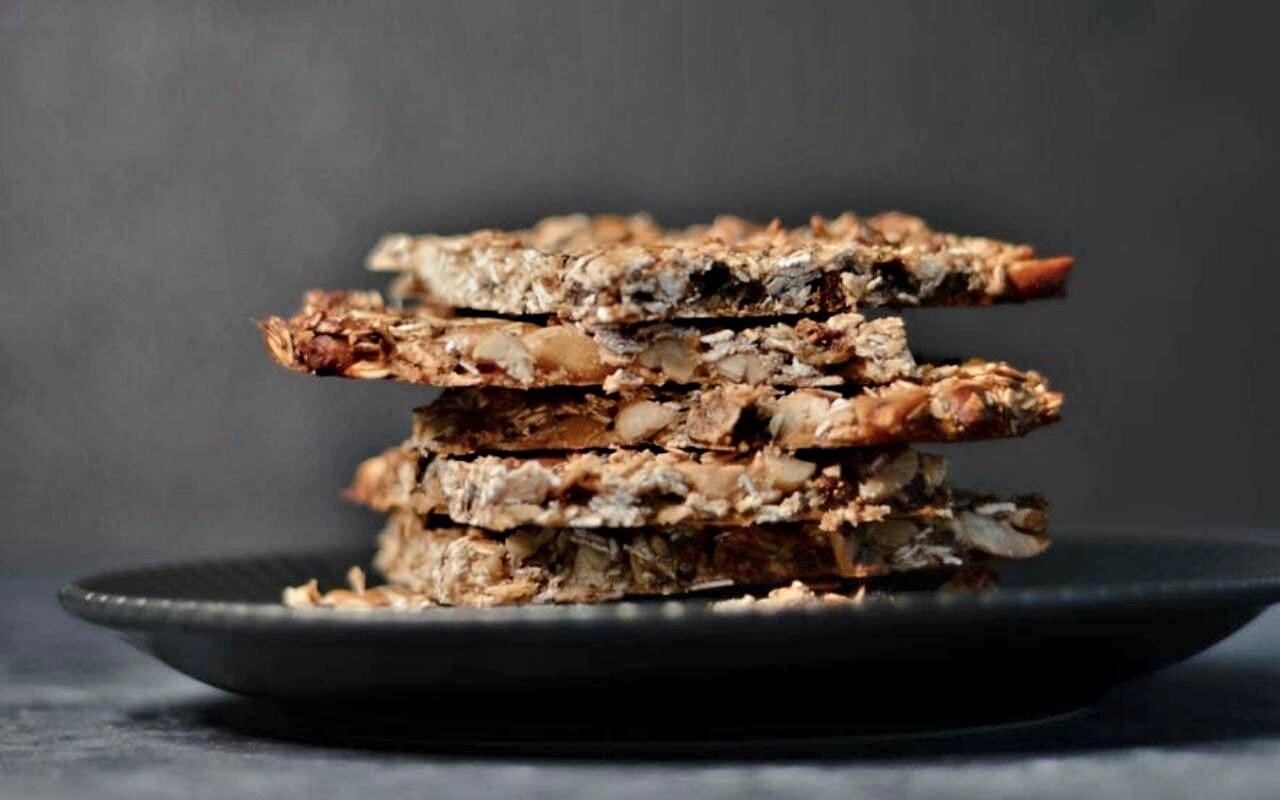
If you are looking for a delicious, easy-to-eat snack, you can easily make crunchy homemade granola bars—a healthy choice that is perfect for busy mornings.
Table of Contents
Homemade Granola Bars: A Delicious and Convenient Snack
Homemade granola bars are a tasty treat made from rolled oats, peanut butter, honey, nuts, dried fruit, and a hint of cinnamon. They offer the perfect balance of sweetness and texture.
Unlike many packaged snack bars, the homemade version gives you control over the ingredients and allows you to customize each batch. You can add chocolate chips, dried cranberries, coconut, seeds, or your favorite nuts according to your preference.
Granola bars are incredibly convenient; you can pack them in lunchboxes, toss them in your bag for a quick snack, or enjoy them with coffee for an easy breakfast. While granola bars are generally recognized as shelf-stable snacks, proper storage helps maintain their freshness and quality.
Why You’ll Love Homemade Granola Bars:
- They’re easy to make
- They’re easy to chew and crunchy
- Easy to customize
- Perfect for meal-prep
- Family-friendly
- Perfect for breakfast
- Freezer-friendly
All the ingredients you need for Homemade Granola Bars:
Dry Ingredients:
- 1/4 cup pumpkin seeds
- 1/4 teaspoon salt
- 1/2 teaspoon ground cinnamon
- 1/2 cup dried cranberries
- 1/2 cup chopped walnuts or pecans
- 3/4 cup chopped almonds
- 2 1/2 cups old-fashioned rolled oats
Wet Ingredients:
- 2 tablespoons unsalted butter
- 1 teaspoon pure vanilla extract
- 1/2 cup creamy peanut butter
- 1/3 cup honey
- 1/4 cup packed light brown sugar
Ingredients for add-ins, optional:
- 2 tablespoons chia Seeds
- 2 tablespoons sunflower seeds
- 1/2 cup mini chocolate chips
- 1/4 cup grated coconut
- 1/4 cup raisins
- Pinch of sea salt, for topping
Tips: If you prefer a nut-free version, use sunflower seed butter instead of peanut butter and seeds instead of nuts.
Supplies:
- Parchment paper
- 8-inch square baking pan
- Rubber spatula
- Sharp knife
- Measuring cup and spoon
- Large mixing bowl
- Small saucepan
Full instructions on how to make homemade granola bars:
1. Prepare the Baking Pan
- Preheat the oven to 350°F, 175°C.
- Use an 8-inch square baking pan and line it with parchment paper.
- Leave some paper hanging over the edge.
- This makes it easier to remove the finished granola slab from the pan.
- Lightly grease the parchment paper with butter or cooking spray.
MORE RECIPE:-
Velvet Harvest Pumpkin Cheesecake Bars
7-Layer Magic Cookie | Heavenly Crunch Bliss Bars, Easy 7-Step
2. Toasting the Oats and Nuts
- Spread the rolled oats, almonds, and walnuts or pecans evenly on a baking sheet.
- Toast for about 10 minutes, stirring once.
- The oats should release a mild nutty aroma, and the nuts should become fragrant.
- Overbrowning should be avoided, as the ingredients continue to cook slightly even after removing from the oven.
- Toasting is a very easy way to give homemade granola bars a deeper and richer flavor.
3. Mixing the Dry Ingredients
- Now add the toasted oats and nuts to a large mixing bowl.
- Add the dried cranberries, pumpkin seeds, cinnamon, and salt.
- Keep mixing until combined.
- If you add coconut or other dry ingredients, add them at this step.
4. Making the Sweet Peanut Butter Mixture
- Now add the honey, peanut butter, brown sugar, and butter to a small saucepan.
- Heat the mixture over medium-low heat, stirring constantly.
- Mix until the peanut butter and butter are completely melted and the mixture becomes smooth.
- Be careful not to overcook.
- All you need to do is melt everything together into a smooth, sticky mixture.
- Remove the saucepan from the heat and add the vanilla extract.
5. Mixing Everything
- Slowly pour the warm peanut butter mixture into the toasted oat mixture.
- Use a rubber spatula and mix well.
- Make sure all the oats and nuts are well coated.
- This sticky mixture is perfect for holding the granola bars together once they cool.
- If you use mini chocolate chips, be sure to let the mixture cool slightly before adding them so they don’t melt completely.
6. Pouring into the Pan
- Pour the mixture into the prepared baking pan.
- Use the back of a spatula or another piece of parchment paper to press the mixture evenly.
- This step is crucial.
- Push the mixture evenly into the corners and edges.
- Loose or lightly packed granola is more likely to break when cut.
7. Baking
- Place the pan in the preheated oven.
- Bake for 20 to 22 minutes, or until the edges are lightly golden brown.
- The center may still be slightly soft, but that’s okay.
- The granola will firm up as it cools.
- If you prefer chewier granola bars, don’t overbake.
8. Cooling Completely
- Remove the pan from the oven and place it on a cooling rack.
- Cool the granola completely in the pan.
- For especially clean slices, refrigerate it for about 35 to 60 minutes after cooling to room temperature.
- This step should not be rushed.
- Cutting the bar while it is still hot can cause it to break.
9. Slicing the Granola Bars
- Take the cooled granola slab out of the pan onto parchment paper.
- Place it on a cutting board and use a sharp knife.
- Cut into about 12 bars.
- You can make them smaller for lunchbox-sized snacks.
Some delicious variations for homemade granola bars:
For Chocolate Chip Granola Bars: Add 1/2 cup mini semi-sweet chocolate chips if you prefer a more chocolate flavor.
For Cranberry Almond Granola Bars: Use extra sweet cranberries and chopped almonds for a sweet, tart combination.
For Coconut Granola Bars: Add 1/2 cup unsweetened shredded coconut and a little extra vanilla.
For Peanut Butter Chocolate Bars: Add mini chocolate chips and use creamy peanut butter for a rich peanut butter chocolate combination.
For Apple Cinnamon Granola Bars: Add finely chopped diced apple and increase the cinnamon a little.
For Net-Free Granola Bars: You can replace peanut butter with sunflower seed butter and replace nuts with pumpkin or sunflower seeds.
Tips for storing homemade granola bars:
Let them cool completely, then wrap each bar tightly in parchment paper or store them in an airtight container.
For best quality, store them in a cool, dry pantry for several days.
If your kitchen is hot or humid, refrigeration is ideal for maintaining their texture.
According to USDA guidance, proper handling and storage should be observed to maintain quality and safety.
When refrigerating granola bars, thaw them in the refrigerator or at room temperature for a softer texture before eating.
Can I freeze homemade granola bars?
Absolutely! Homemade granola bars freeze well. Simply wrap each bar individually, then place the wrapped bars tightly in a freezer-safe bag or container, and then refrigerate.
For convenience, it should be frozen separately so that you can take out only as much as you need.
Serving Suggestions for Granola Bars:
Homemade granola bars are delicious on their own, but you can also enjoy them with:
Fresh berries
Greek yogurt
Apple slices
Sliced banana
A fruity smoothie
Peanut butter
A glass of milk
Coffee or tea
For a quick breakfast, pair these granola bars with Greek yogurt and fresh fruit.
FAQ
Answers to questions about homemade granola bars.
Q. Can I make granola bars gluten-free?
Absolutely! Use certified gluten-free oats, then make sure the rest of the ingredients are gluten-free as well if you need to avoid gluten.
Q. Can I make granola bars without honey?
Absolutely! You can use maple syrup instead of honey, but it may slightly alter the taste and texture.
Q. Can I make granola bars instead of peanut butter?
Yes! You can use almond butter, cashew butter, or sunflower seed butter. Sunflower butter is a great option for nut-free recipes.
Q. Are homemade granola bars healthy?
Homemade granola bars are an easy snack, especially because you can control the sugar content and choose ingredients like oats, nuts, seeds, and dried fruit. However, their nutritional value depends on the ingredients and quantity used.
Q. Can I add chocolate chips?
Absolutely! Mini chocolate chips are great. If you prefer, you can make the chocolate chips stand out. Chill the oat mixture slightly before adding them.
Q. Can I use quick oats?
I can! But old-fashioned oats usually give a better texture. If you use quick oats, the texture of the bars becomes softer and more compact.
Q. Can I make granola bars vegan?
Absolutely! Instead of plant-based butter and honey, use maple syrup and plant-based nut or seed butter.
Q. Are granola bars good for breakfast?
They can be an easy part of breakfast. For a filling snack, eat granola bars with protein-rich yogurt and fruit.
Final Thoughts
Homemade granola bars are a fun and quick snack using everyday kitchen items, which is a very easy way to make them. The combination of toasted oats, crunchy nuts, chewy nuts, creamy peanut butter, and honey creates a great texture and a naturally rich flavor. The best part is that you can customize this recipe to your liking.
You can make classic chocolate chip bars, cranberry almond bars, peanut butter bars, coconut bars, or nut-free bars, depending on your family’s taste.
For best results, keep three things in mind: be sure to toast the oats and nuts. Coat everything thoroughly with the binding mixture and press the mixture firmly to set before baking. Let it cool completely. Then, you’ll have homemade granola bars that are perfect for cutting, packing, and eating all week long. So, give them a try and enjoy them with family and friends.